
Build Your Own Keyboard
Welcome to the custom keyboard experience.
Follow the steps below to create your own keyboard setup based on your personal style, typing feel, and gaming preferences.
To begin your build, simply select your preferred options from each product dropdown on our shop page and add them to your cart.
Step 1 — Choose Your Keycaps
Keycaps define the overall appearance and feel of your keyboard. This is the most visible part of your build and helps create your keyboard’s identity. Choose the style, color theme, and texture that best matches your setup.
Step 2 — Choose Your Case
The case is the main body of the keyboard and determines much of the keyboard’s visual style and overall feel. Different materials and finishes can create very different sound and typing experiences.
Step 3 — Choose Your PCB
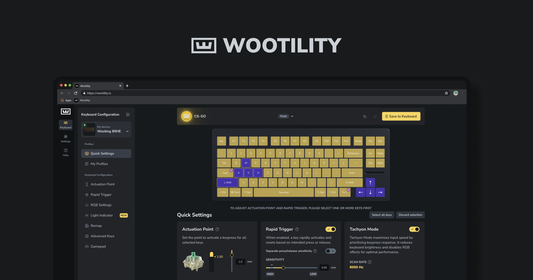
The PCB is the core of the keyboard and controls functionality, layout support, lighting, and gaming features. Please select the PCB platform you would like to build around before selecting additional accessories.
Step 4 — Optional: Choose a Custom Plate Upgrade
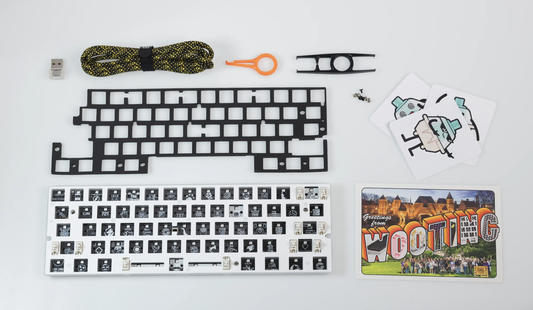
The plate affects typing feedback and acoustics. Some options provide a softer and more flexible typing feel, while others offer a firmer and more responsive experience.
If you would like to keep the original plate that comes with your selected PCB, you may skip this step and continue directly to Step 7.
Please note that the stabilizers and PORON foam pack are matched specifically to the custom plate upgrade options. If you keep the original PCB plate, the original stabilizers and foam configuration will also remain unchanged.
Step 5 — Choose Your Stabilizers
If you selected a custom plate upgrade in Step 4, you may now choose the stabilizers that match your setup and typing preference.
If you skipped Step 4 and kept the original PCB plate, you may skip this step as well.
Step 6 — Choose Your PORON Foam Pack
If you selected a custom plate upgrade in Step 4, you may now choose the matching PORON foam pack to complete your typing and acoustic setup.
If you skipped Step 4 and kept the original PCB plate, you may skip this step as well.
Step 7 — Choose Your Switches
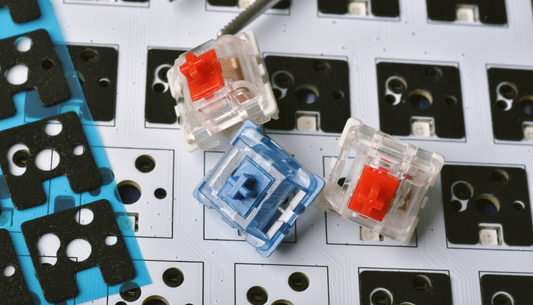
Switches determine the typing feel, sound profile, and gaming performance of your keyboard. Different switches provide different levels of smoothness, feedback, and responsiveness.
Step 8 — Choose Your Back Board / Weight
The back board or weight enhances the keyboard’s stability, sound profile, and premium feel. Different materials and finishes create different visual and acoustic characteristics.
Step 9 — Choose Assembly Service
If you would like us to professionally assemble the keyboard for you, please select and add the Assembly Service option to your cart before checkout.
If Assembly Service is not selected, your order will be shipped as individual parts for self-assembly.
Final Step — Checkout
Once all your selections have been added to your cart, complete checkout and we will prepare your custom keyboard based on your selected configuration.
If Assembly Service is included in your order, your keyboard will be professionally assembled, tested, and ready to use upon delivery.